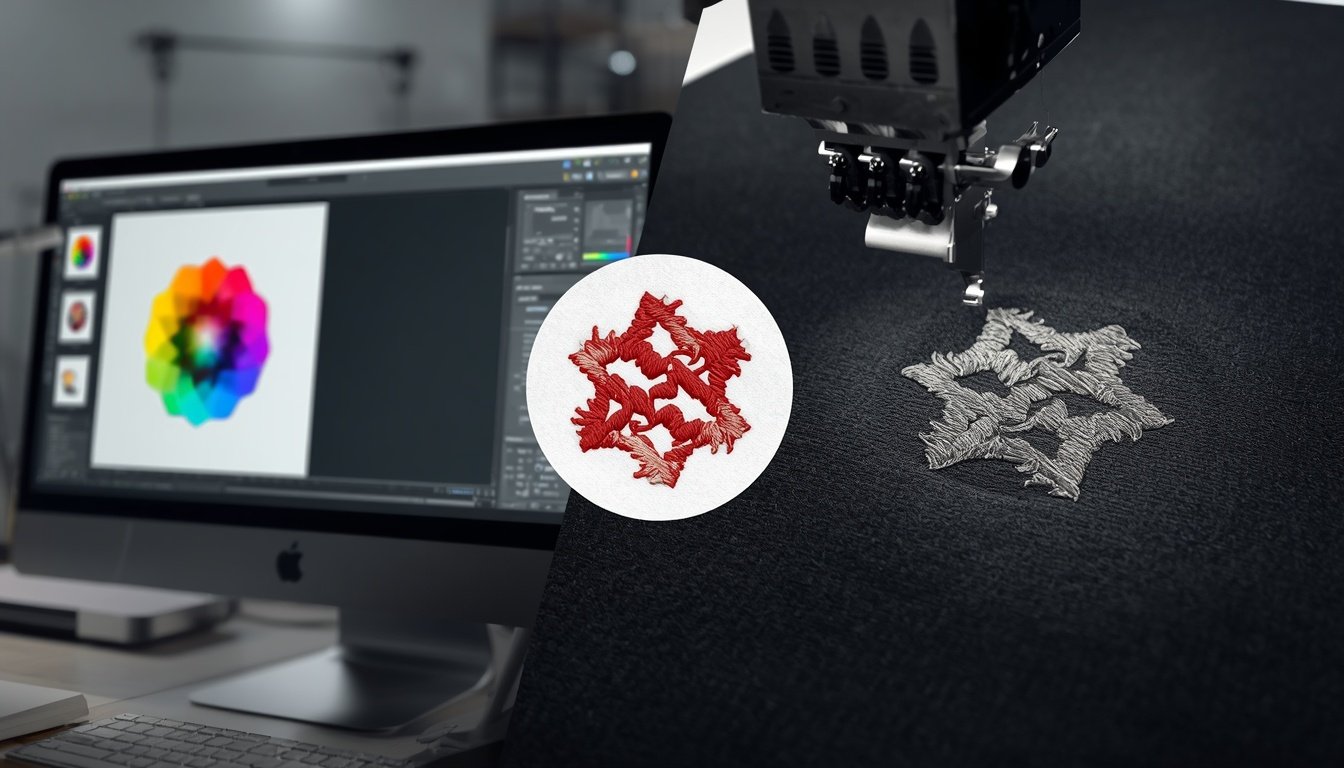
If you have an SVG logo or artwork and want to use it on an embroidery machine, you may be wondering how to convert SVG to DST. SVG files are excellent for digital artwork because they can be resized without losing quality, while DST is one of the most widely used formats for machine embroidery.
However, converting an SVG file to DST is not always as simple as changing the file extension. A production-ready DST file contains stitch information that tells an embroidery machine exactly how to sew the design.
In this guide, we will explain how SVG and DST files work, how to convert SVG to DST, and when professional embroidery digitizing is a better option for getting a clean, machine-ready embroidery file.
Understanding SVG and DST Files
Before you convert SVG to DST, it is important to understand the difference between the two file formats.
What Is an SVG File?
SVG stands for Scalable Vector Graphics. It is a vector-based image format commonly used for logos, illustrations, icons, and other digital artwork.
The main advantage of SVG is that you can resize the artwork without losing its visual quality. This makes SVG files useful when preparing logos for embroidery digitizing.
An SVG file can contain:
- Logos
- Text
- Shapes
- Lines
- Colors
- Vector artwork
- Illustrations
However, an SVG file does not contain embroidery stitch instructions.
What Is a DST File?
DST is a machine embroidery file format commonly associated with Tajima embroidery machines and widely supported by many commercial embroidery machines.
Unlike SVG, a DST file contains stitch data. It tells the embroidery machine where to move the needle and how to create the design.
A DST embroidery file can contain information such as:
- Stitch movements
- Stitch sequences
- Thread stops
- Jump stitches
- Color changes
- Design positioning
This is why an SVG cannot simply be renamed as a DST file. The artwork needs to be converted into embroidery stitch data.
Why Do You Need to Convert SVG to DST?
If your artwork was created in Illustrator, CorelDRAW, Inkscape, or another design program, you may have an SVG file but your embroidery machine may require a DST file.
The conversion process allows your artwork to be prepared for embroidery production.
For example, you may have an SVG logo that you want to embroider on:
- T-shirts
- Hoodies
- Jackets
- Caps
- Uniforms
- Bags
- Workwear
- Embroidered patches
But simply converting the graphic into an embroidery format does not guarantee good stitching.
The design must also be prepared for the fabric, embroidery size, stitch type, density, underlay, and machine requirements.
That is where embroidery digitizing becomes important.
How to Convert SVG to DST
There are several ways to convert SVG artwork into a DST embroidery file. The right method depends on the complexity of your design and how much control you need over the final stitching.
Step 1: Prepare Your SVG Artwork
Start with a clean SVG file.
Before converting it, check your artwork for:
- Unnecessary shapes
- Duplicate objects
- Very small details
- Overlapping elements
- Incorrect colors
- Unwanted outlines
- Text that may be too small to embroider
A clean vector file makes the embroidery digitizing process easier.
You should also decide the final embroidery size.
For example, a logo intended for a left chest may need completely different stitch settings from the same logo intended for a large jacket back.
Step 2: Choose an Embroidery Digitizing or Conversion Tool
You can use embroidery software to create a DST file from artwork.
Some embroidery programs allow you to import vector artwork and convert or manually digitize it into stitches.
Popular options may include:
- Ink/Stitch
- Wilcom
- Hatch Embroidery
- Embird
- Other professional embroidery digitizing software
The important thing to remember is that vector artwork and embroidery files are fundamentally different.
The software must create stitch information from the artwork rather than simply changing the file extension.
Step 3: Import Your SVG
Open your embroidery software and import the SVG file.
Depending on the software, you may need to adjust:
- Artwork size
- Object order
- Colors
- Shapes
- Stitch areas
- Text
- Design placement
At this stage, make sure the artwork is the correct size for your intended embroidery application.
Step 4: Convert or Digitize the Artwork
This is the most important part of the process.
If your software supports automatic conversion, it may generate embroidery objects from the SVG artwork.
However, automatic conversion may not produce the best results for every design.
Professional digitizing involves deciding how each part of the artwork should be stitched.
For example:
- Large areas may use fill stitches.
- Borders may use satin stitches.
- Small details may require special adjustments.
- Text may need different stitch settings.
- Curves may require proper stitch direction.
- Fabric type may require different density and underlay settings.
For complex logos, manual embroidery digitizing usually provides more control than automatic conversion.
Step 5: Set Stitch Types and Density
Once your artwork has been converted into embroidery objects, review the stitch settings.
Common stitch types include:
Satin Stitch
Often used for borders, lettering, outlines, and narrow shapes.
Fill Stitch
Used for larger areas of embroidery.
Running Stitch
Useful for fine lines and small details.
You should also adjust stitch density according to the design and fabric.
Too much density can cause:
- Fabric puckering
- Thread breaks
- Needle problems
- Excessive stiffness
Too little density can cause:
- Gaps
- Poor coverage
- Weak details
- An unfinished appearance
Step 6: Set Thread Colors
Match the embroidery thread colors to your original SVG artwork as closely as possible.
Keep in mind that colors displayed on a computer screen can look different from actual embroidery thread.
For accurate production, use a physical or digital thread color chart supported by your thread manufacturer.
You should also organize the color sequence correctly so the embroidery machine knows when to stop and change thread.
Step 7: Save the Design as DST
After the embroidery design has been digitized and checked, export or save it in DST format.
Depending on your embroidery software, the option may appear as:
Export → DST
or
Save As → DST
Make sure you select the correct machine format and review the design settings before exporting.
Does Converting SVG to DST Automatically Create a Good Embroidery File?
Not necessarily.
This is one of the most important things to understand.
An SVG is a graphic file, while DST is a stitch-based embroidery file.
A basic conversion may create a DST file, but that does not automatically mean the design will stitch correctly.
A production-ready embroidery file should be evaluated for:
- Stitch density
- Stitch direction
- Underlay
- Pull compensation
- Stitch length
- Object sequencing
- Thread changes
- Jump stitches
- Fabric type
- Final embroidery size
This is why professional embroidery digitizing is often recommended for logos and detailed artwork.
When Should You Use Professional Embroidery Digitizing?
If your SVG is a simple design with large shapes and limited detail, you may be able to prepare it yourself using embroidery software.
Professional digitizing becomes especially useful when your design contains:
- Detailed logos
- Small lettering
- Fine outlines
- Gradients
- Multiple colors
- Complex shapes
- 3D puff elements
- Jacket-back artwork
- Cap logos
- Small left-chest designs
- Designs intended for commercial production
A professional digitizer can optimize the artwork specifically for embroidery rather than simply converting the file.
Convert SVG to DST With Professional Help
If you already have an SVG logo but do not want to spend time manually adjusting stitches, SBS Digit can turn your artwork into a machine-ready embroidery file through professional embroidery digitizing.
We work with logos, apparel designs, patches, caps, jackets, uniforms, and other embroidery applications.
You can submit your artwork and specify the required embroidery size and placement. The design can then be prepared according to the intended application.
Need your SVG converted into a professional embroidery file?
Get Your Embroidery Design Digitized
How to Get Better Results When Converting SVG to DST
Follow these tips before sending your design to an embroidery machine.
Use the Correct Embroidery Size
Do not assume that the same stitch settings will work at every size.
A logo digitized for a 3-inch left chest may need different settings when enlarged for a jacket back.
Avoid Extremely Small Details
Some details that look perfect in an SVG may be too small to reproduce with embroidery.
Simplifying tiny details can often produce a cleaner result.
Consider the Fabric
A design intended for a structured cap may require different settings from a design intended for a lightweight T-shirt.
Fabric stretch, thickness, and texture all affect embroidery quality.
Test Stitch the Design
Before producing a large quantity, test the DST file on the actual or a similar fabric.
Look for:
- Thread breaks
- Puckering
- Gaps
- Poor registration
- Uneven coverage
- Incorrect color sequence
A test sew-out can reveal problems that are not obvious on the computer screen.
SVG to DST: DIY Conversion vs Professional Digitizing
The biggest difference is the purpose of the process.
A basic converter focuses on changing or generating a compatible file.
Professional embroidery digitizing focuses on creating a design that actually stitches well.
| DIY Conversion | Professional Digitizing |
|---|---|
| May be faster for simple artwork | Optimized for embroidery production |
| Requires embroidery software | Handled by an experienced digitizer |
| May require manual corrections | Stitch settings are professionally adjusted |
| Results depend on software settings | Designed around fabric and application |
| Suitable for simple designs | Better for logos and complex artwork |
If your design is being produced commercially, investing in proper digitizing can help prevent wasted garments, thread, and production time.
Final Thoughts
Learning how to convert SVG to DST can be useful if you already have vector artwork and want to prepare it for an embroidery machine.
However, remember that SVG and DST are different types of files. SVG describes artwork, while DST contains embroidery stitch information.
For simple designs, embroidery software may help you create a DST file yourself. For detailed logos, commercial embroidery, caps, jackets, patches, and other demanding applications, professional embroidery digitizing can provide much better control over the final result.
If you have an SVG logo ready for embroidery, you can send it to SBS Digit for professional digitizing and receive a machine-ready embroidery file.
Ready to convert your SVG artwork into embroidery?