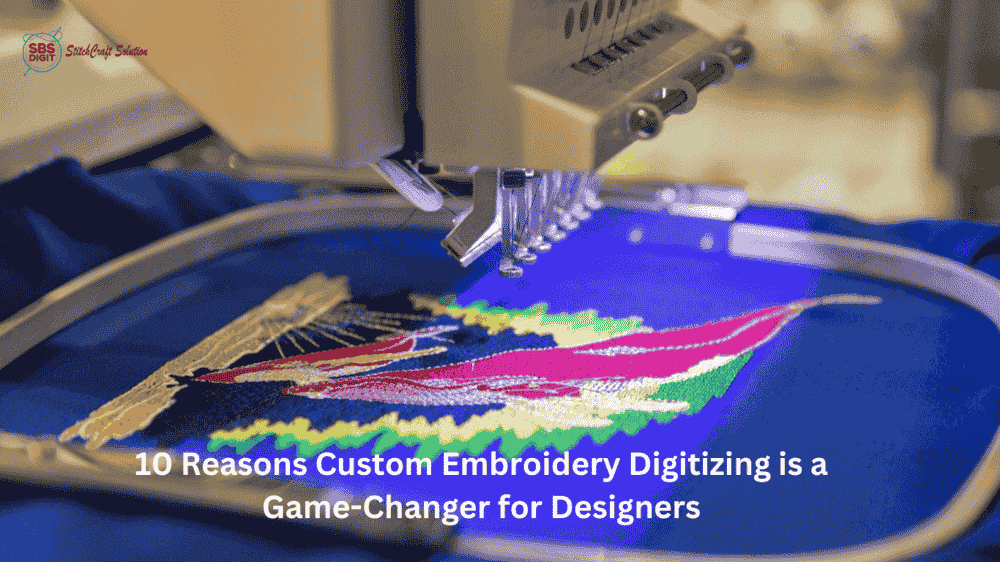
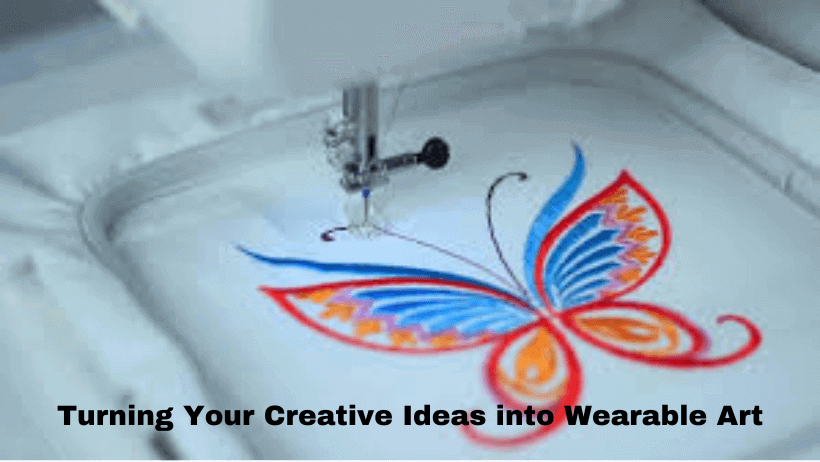
Converting an JPEG image to PES file format is crucial for utilizing your image on Brother embroidery machines and other devices compatible with it. Here at SBS Digit, we simplify the process of converting artwork into ready-for-embroidered files. Follow this step-by step tutorial to transform your JPG into PES format. This is whether you’re making custom embroidery designs or trying out for free PES embroidery patterns (4×4 or any other size).
Step 1: Understanding the Basics
Prior to converting JPEG into PES format, you need to be aware of the definition of is a PES file actually is. PES means Programmable Stitch Embroidery Stitch it is a specific format utilized in Brother machine embroidery. It is a format that contains information about stitch patterns that machines read to create embroidery.
Common formats for embroidery include:
- PES (Brother)
- DST (Tajima)
- EXP (Melco)
For conversion of images to embroidery formats such as PES or DST You’ll require special digitizing software. These files for embroidery must be manually altered in order to make sure they stitch correctly.
Step 2: Choosing the Right Software
There is an JPEG convertor from PES to JPEG commonly referred to the software for digitizing embroidery. There are several options to choose from:
- SewArt (User-friendly JPG to PES converter)
- Wilcom Hatch
- Embird
- Brother PE-Design
The tools can transform JPG into PES format, or PNG into PES as well as provide you with complete control of your embroidery files.
Step 3: Preparing Your Image
Make sure you clean and simplified your JPEG before you import it into digitizing software:
- Make use of high-contrast images.
- Reducing background noise
- Convert to grayscale, if required.
- Save the file in .JPG or .PNG format.
TIP: A well-organized image will result in higher quality embroidery designs in the conversion of JPEG in PES.
Step 4: Importing the Image
Launch your software to digitize embroidery and load the JPEG image:
- Select “Import Image” or “Open”
- Pick the .jpg or .png image or png file
- Make adjustments to the size that will accommodate the embroidery hoops (commonly 5×7 or 4×4)
Step 5: Digitizing the Image
It is the most critical process. The program cannot make perfect stitches. They is necessary to digitize manually or semi-automatically
- The major regions of the image
- Types of stitch to assign (satin and fill stitch)
- Set stitch direction and density
- Check out the embroidery files before you upload them.
Now you are creating the stitching file that your machine is able to be able to read.
Step 6: Testing and Adjusting
Before finalizing:
- Create an actual stitch simulation within your program
- Save the PES file, then transfer it to the embroidery machine of your choice.
- Utilize a scrap of fabric for testing the pattern
- Examine for thread breakages gap, misalignment, or gaps
Make adjustments to the embroidery file if required.
Step 7: Finalizing the Design
If you’re satisfied:
- Files can be saved to. PES format.
- Be sure to name it correctly to be used in the future.
- Store it in a safe place and back it in a secure place
You’ve succeeded in changed the JPG into a PES embroidery image!
Common PES File Issues and Solutions
1. Opening the PES File
If your device isn’t capable of reading the file, you can try:
- Change the name of the file so that it uses normal characters
- If you are using PES version 1.0, which is older PES version
2. Checking the File Extension
Make sure the extension of the file must be. pes, not wrongly save it with .jpg instead of. png.
3. Hoop Size Compatibility
If your design is huge, adjust the size of it using the digitizing program before you export it.
4. Machine Version Compatibility
Older devices may not work with the latest PES format files. Select the correct export format.
5. Thread Display Issues
Colors of thread may look incorrect because of brand variations. Make sure to match threads by hand.
Conclusion
Converting an image from JPEG into a PES embroidery file might seem difficult, but with appropriate tools and step-by step instruction you can do it, even for those who are new to. SBS Digit offers free digitizing for embroidery and high-end solutions that aid you in the conversion of every image to high-quality PES embroidery images.
No matter if you’re using a brother machine or want to convert your picture into embroidery formats such as DST or EXP or EXP, we’re here to assist.
FAQs (Frequently Asked Questions)
Q1: What exactly is the PES format?
PES file is a PES file is an instance of format for designs utilized by Brother as well as Babylock machines.
Q2: Is it possible to change JPG into PES at no cost?
Some tools do offer free trial or limited-feature versions. SBS Digit also offers free digitizing of embroidery on certain designs.
Q3: How can convert JPEG into PES using no any software?
It is still necessary to use some type of online converter, or solution such as SBS Digit to create stitch files.
Q4: How do I convert PDF or PNG to PES?
Most software for digitizing supports PNG as well as PDF imports for conversion.
Q5: What is the best way do I make the PES format by hand?
Make use of digitizing software for drawing or import patterns, create stitches, then export to. pes.
Need help digitizing your logo or image? Contact SBS Digit for professional and free PES embroidery designs and services today!


I very delighted to find this internet site on bing, just what I was searching for as well saved to fav
I am truly thankful to the owner of this web site who has shared this fantastic piece of writing at at this place.