
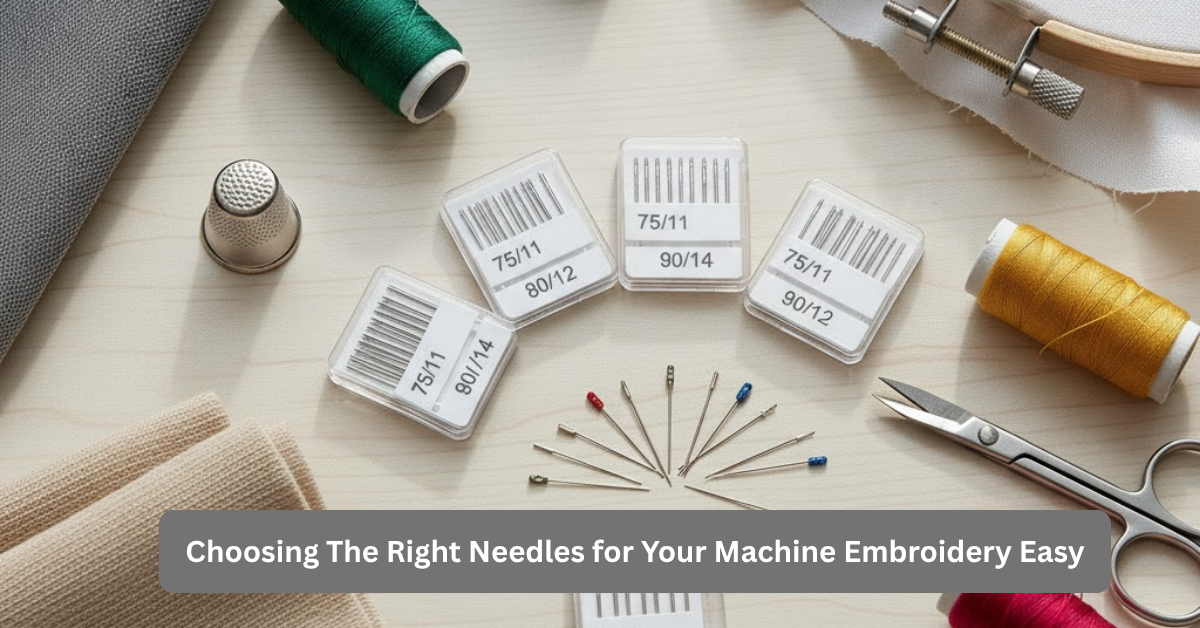
In the world of machine embroidery, the key to creating stunning designs isn’t just in the digitization or the performance of your machine. It’s as simple as one device that is the embroidery needle. Making the right choice of embroidery needles ensures that thread breaks are not a problem, as well as damaged fabric and weak stitching, making sure that your work is perfect each occasion.
If you’re always wondering what needle to use for embroidery as well as what distinction is between needles for embroidery and sewing embroidery needle vs sewing needle, SBS Digit has created a simple thorough guide for those of you. We are experts in embroidery digitizing USA we guarantee that once you’ve read this guide article, choosing machine embroidery needles will be easy.
Anatomy: Embroidery Needles vs Sewing Needles
The primary distinction between an embroidery machine needle and a regular sewing machine vs embroidery machine needle is in the design of the needle that is designed to maximize the speed and length of thread utilized for stitching.
1. The Enlarged Eye (Scarf)
Embroidery needles have a larger-than-average eye. This is important since the thread used for embroidery (typically an 80-weight polyester or rayon) tends to be heavier and requires a smoother route than regular sewing thread. The bigger eye decreases tension on threads as they swiftly move through, thereby reducing breaking and shredding, which is a common issue to embroidery professionals.
2. The Deep Groove
The groove on the shaft is much deeper than the one-on-one embroidery needle. This channel is deeper and assists in guiding the thread all the way to the eye. This also means that the machine’s hook is able to easily grasp the thread loop underneath the throatplate, which prevents missed stitches and resulting in an easier stitch pattern. This design element is the reason why you shouldn’t employ a normal sewing needle to stitch.
Selecting Embroidery Needle Size: The Fabric-Thread Match
It is the size that machine embroidery needles are determined using a dual-number system (e.g. 70/11, or 90/14). The first number (75 90) refers to the European measurement size, while the second (11 14) is the American size. The smaller that number is the finer needle.
Match the Needle to the Thread Weight
| Thread Weight | Recommended Needle Size | Use Case |
| 40 Weight (Standard) | 75/11 (Most Common) | General embroidery and most common designs. |
| 30 Weight (Heavier) | 90/14 | Thicker threads, heavy fills or special threads such as metallic. |
| 60 Weight (Finer) | 65/9 or 70/10 | Small lettering, fine detail, or delicate fabrics. |
Match the Needle to the Fabric Type
| Fabric Weight | Examples | Recommended Needle Size |
| Lightweight | Silk, Organza, Rayon | 65/9 or 70/10 |
| Medium-Weight | Cotton, Linen, Polyester Knits | 75/11 or 80/12 |
| Heavyweight | Denim, Canvas, Thick Towels | 90/14 or 100/16 |
SBS Digit Pro Tip: The most important thing to remember is to select the smallest needle that can comfortably accommodate the thread and fabric. When the needle’s size is big it may create visible holes or cause puckering. If you use a needle that isn’t enough, the thread could tear and break.
Understanding Needle Points: What Needle to Use for Embroidery
The needle’s position determines how the needle is inserted into through the fabric. It is crucial in ensuring stitch quality and stopping the fabric from being damaged.
1. Sharp Point Needles
- Use: Best for tightly weaved fabrics such as cotton, denim, canvas, and fabrics that require a clean and precise hole.
- Action: It pierces and cut through fibers, making it suitable for materials that require a puncture cleanly required.
2. Ballpoint Needles (or Knit Needles)
- Use: Ideal for knit and stretchy fabrics such as T-shirts, jerseys and sweatshirts.
- Action: The rounded tip is able to push the fibers away instead of cutting them. This helps prevent holes and preserves the fabric’s stretch and is crucial to avoid missed stitches on knits.
3. Specialty Needles (Metallic and Wedge Point)
- Metallic Needles: These have an extended, large eye, which reduces friction and fraying that is common to metal threads. 5 If you’re using special, easily damaged threads, you should use this kind of.
- Leather and Wedge Needles: They are often used in conjunction with upholstery needle and thread applications They have a sharp, wedge-like point that is designed to cut through hard materials such as vinyl and leather, creating the appearance of a slit instead of punch holes.
Best Practices for Machine Embroidery Needle Care
- Change Needles Regularly: A dull or bent embroidery needle is the most common reason for thread breaks and poor quality of stitch. Change your needle at least about 8 to 10 hours of stitching or when you begin of a new or complex project.
- Get Titanium for Density: If you’re stitching large designs or using rough materials, you should invest into titanium-coated embroidery needles. They are sharper for longer (up to 3 times) and are more resistant to heat than needles that are standard.
- Verify Your Systems: Always confirm the proper needle mechanism (e.g., DBxK5, 130/705 H-E) for your particular machine model, specifically for industrial machines.
- Always test: Before committing to your final piece of work, make sure you examine your selected needle thread, fabric, and combination on scraps of fabric. This simple method, advocated by the experts from SBS Digit, will save you hours of frustration.
Conclusion: Master Your Craft
Selecting the right embroidery machine needle isn’t necessarily complicated. It’s a matter of matching your needle’s dimensions and the point to the thread and fabric you’re using. If you know these basics to avoid common issues, you will be able to eliminate them and can ensure that your designs are created with the professional look and flawless quality.
At SBS Digit, we are convinced that every little detail matters starting from our professional digitizing of embroidery USA service to the choice of your needle. Make sure you choose the right tools and let your creative side shine!
Exceptional work. This is very well-researched.