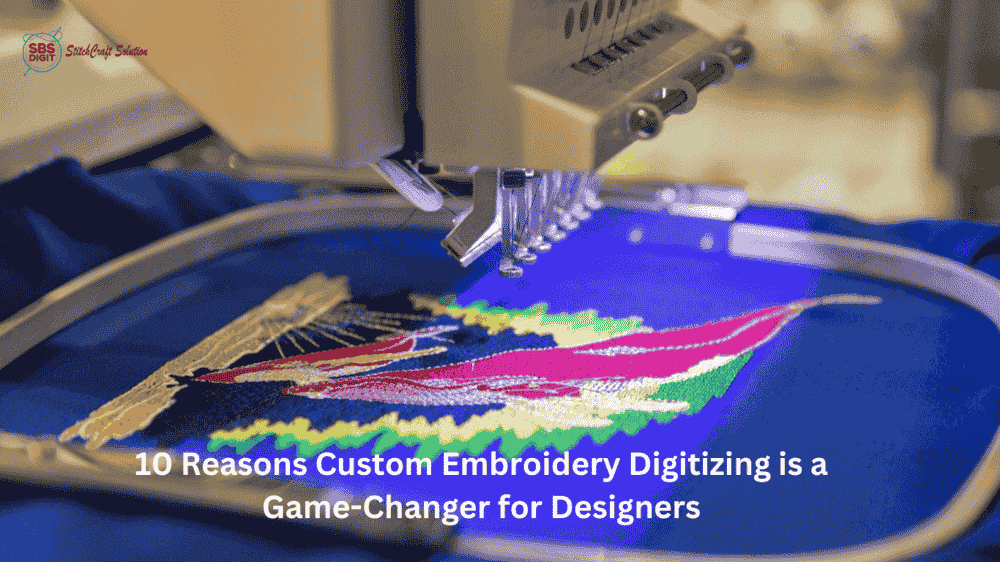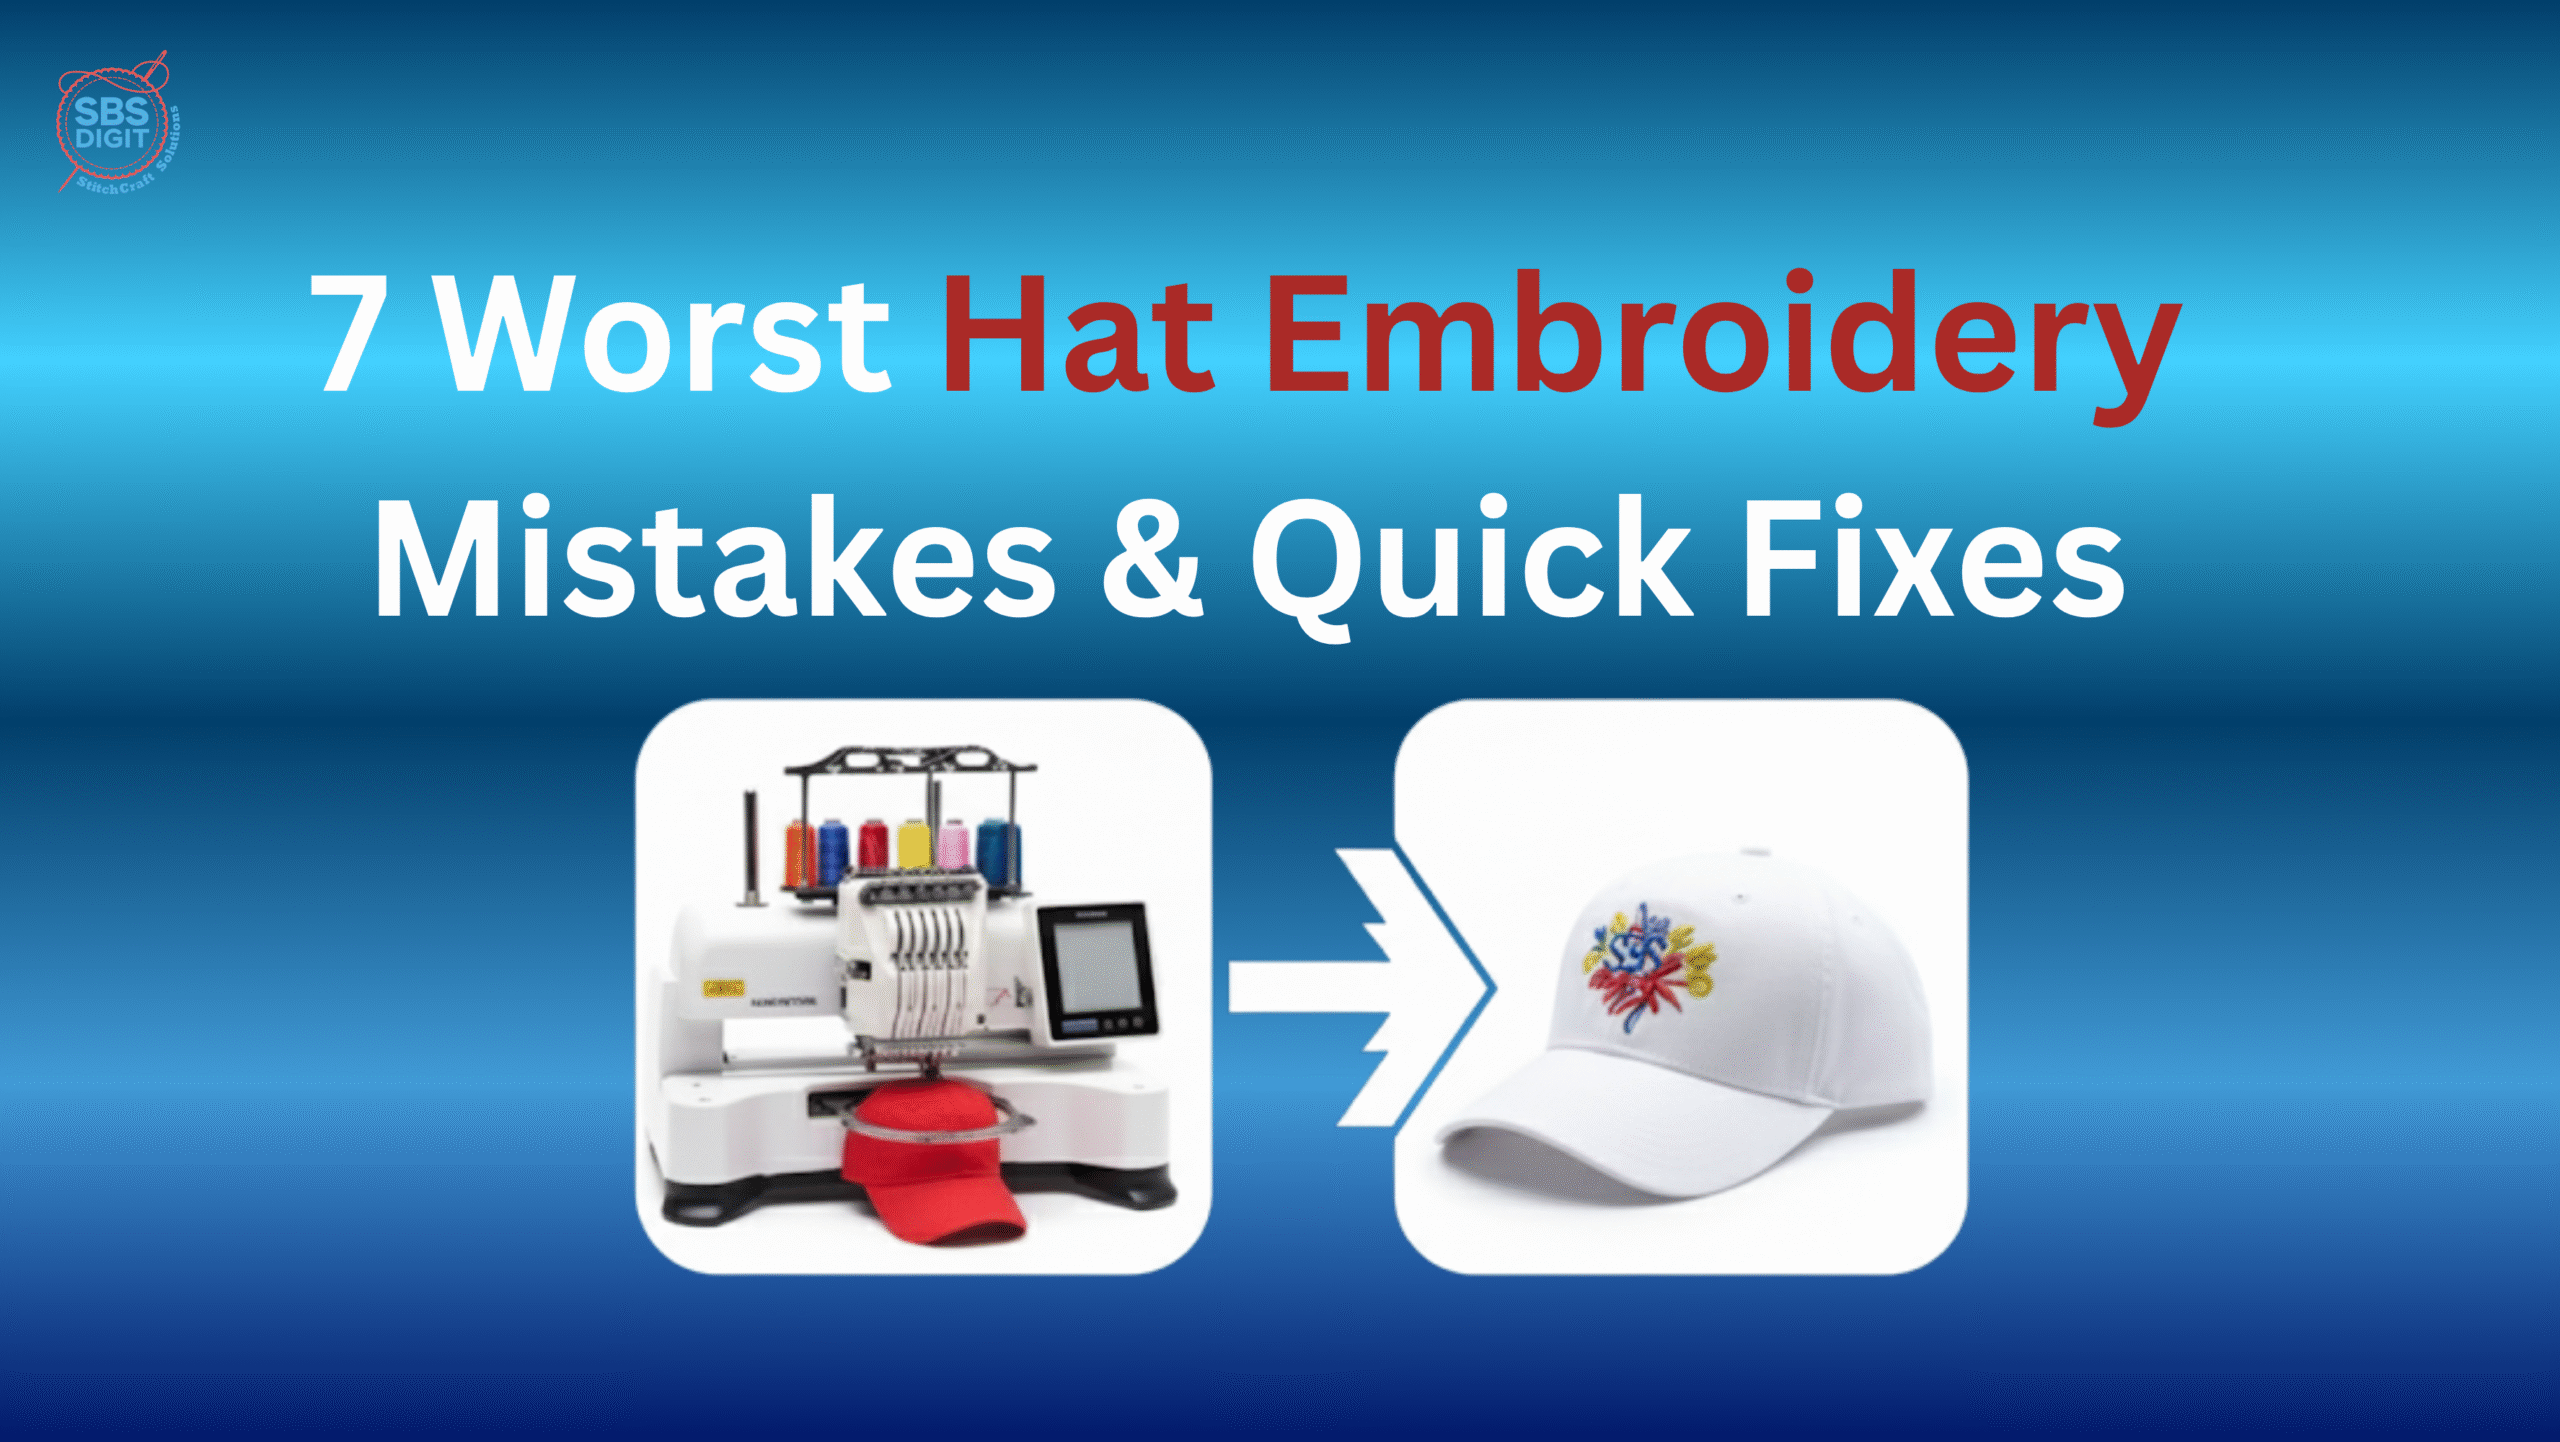
Hat embroidery can be a satisfying art, but the curving and shaped surface of a cap can be difficult. If the logos you’ve created are squeezing, snapping threads, or appear to be like they’ve been twisted, you’re not alone. The main distinction between an amateur’s work and a custom-made hat made by professionals is in making sure you avoid a few crucial mistakes that are common.
As experts in custom digitization services at SBS Digit We tackle the troubleshooting of these issues every day. We’ve put together the top 7 common mistakes that affect those who use each embroidery machine used for the hat and provided you with the easy, professional-grade fixes that you’ll need to return to a flawless production.
1. Mistake: Using a Flat Design File on a Curved Hat
The Problem: Digitizing Blindly
The most frequently-repeated error is running a file that was designed for a flat piece of clothing (like a t-shirt) on the inside of a cap. Hats, particularly 6-panel caps are designed with a distinct curve and a flat shape will always pull, pucker and distort once sewn to the dome.
Quick Fix
- A Pro-Rule: Designs must be specially digitized for hat. The proper design for caps makes use of the Center-Out Sequencing (stitching from the center outward) to pull the fabric towards the hoop, and not to move away.
- the SBS Digit solution Do not trust any generic software. Make sure you invest in special embrodery machines for hat files. If you’re committed to the quality then have your artwork digitalized with a professional service such as SBS Digit. We create the correct pull compensation and sequence that is required to create a curving canvas.
2. Mistake: Improper Hooping (The Hat Embroidry Machine Killer)
The Problem: Fabric Shifting and Puckering
An untidy or poorly hooped cap can cause puckering or inaccuracy (when colors don’t match) or perhaps broken needles. The hat isn’t treated as a shirt, because the curve needs a unique tension.
Quick Fix
- Be taut, not stretched out: The hat must be taut and securely seated in the frame of the cap to stop moving. Be careful not to stretch too much the fabric otherwise it may relax post-embroidery and will pucker.
- Use the bill as an Anchor Make sure the body of the cap sits securely against the frame plate. This will give you an embroidery machine to make caps an solid anchor point.
- Stabilizer is crucial: Always use a high-quality, cut-away backing that provides the solid support that a hat requires.
3. Mistake: Ignoring Thread Tension
The Problem: Bird Nests, Looping, and Thread Breaks
The incorrect tension of threads is the most common reason for thread breakage and poor quality of stitch. If your machine is continuously stopping and making a snapping sound then the tension is probably too high or the bobbin’s tension may be incorrect.
Quick Fix
- The “I” Test While stitching, you should be able to see approximately 1/3 of the bobbin thread (bottom thread) and 2/3 of the top thread on the backside of the fabric. This will create an elongated “I” shape down the middle of your stitch.
- Bobbin Verify: Don’t forget the Bobbin. Check that it is of the right constant tension (usually measured using a special gauge) and is correctly placed inside the case. A majority of experts suggest a minimum of 110 grams tension to the bobbin’s case to ensure continuous cap stitching.
4. Mistake: Running the Hat Embroidery Machine Too Fast
The Problem: Jagged Stitches and Excessive Vibrations
Although speed of production is crucial for businesses, intricate patterns on the hat’s tough surface require time. The high speeds of structured surfaces can result in poor quality stitching, deflection of needles and the wrong registration.
Quick Fix
- Slow Down to Improve quality: Standard cap run speeds, you should not over 600-700 stitches per Minute (SPM), especially when you are working on the details. When using 3D Puff for extremely complex text, you should consider making the speed lower.
- Programed speed: Utilize the speed reduction settings within your computer or within the file that is being digitized. Professional files (like the ones from SBS Digit) will programme the machine to slow it down to a smaller, more critical area.
5. Mistake: Choosing the Wrong Needle
The Problem: Skipped Stitches and Fabric Damage
A needle that is not the right size or type can damage the fabric, causing excessive thread breakage, and lead to a fragile stitch. A dull, worn-out needle can also be a big cause of.
Quick Fix
- Needle Types: Use an H-E (Embroidery) or Ballpoint Needle to make standard knit caps.
- Needles Sizes: for standard 40-weight polyester or rayon threads, the 75/11 or 80/12 needle is the norm. For threads with a greater thickness (like 3-D puff) it is necessary to jump into a 90/14.
- Change frequently: Think of your needle as a disposable item. We suggest replacing it about 8-10 hours production or whenever you spot a stitch problem.
6. Mistake: Trying to Digitize Complex Designs Yourself
The Problem: Unnecessary Production Downtime and Costly Waste
A lot of beginners look into options such as the free embroidery digitizing of programs to cut costs. But amateur digitizing usually lacks the intricate underlay, push/pull compensator, and sequencing that is required for professional hats. This error can cost you more in wasted hats and threads that snap and lost production time than the digitizing cost in itself.
Quick Fix
- Focus on Your Strengths: Your time is most effective spent operating through your embroidery machine to make caps. outsourcing the initial design set-up to professionals is the most economical solution.
- Be sure to trust the pros: At SBS Digit we stand behind the quality of our stitches because we’ve had the expertise to understand the complex curve of the cap. A well-digitized file significantly decreases the time needed to troubleshoot.
7. Mistake: Stitching Too Close to the Bill or Center Seam
The Problem: Machine Crashes and Broken Stitches
A design that is too far from the bill may cause the machine to fall into the frame of the cap. The stitching that is directly on the middle seam of a cap with six panels creates a lot of tension and distortion.
Quick Fix
- Security Zone Make sure you keep a minimal distance of 3/8 inches (about 10mm) over the cap bill, allowing the foot of the presser to move without restriction.
- Maximum Height The majority of structured caps restrict your design’s size at 2.25 inches (57mm) to avoid stitching within the curved region in which distortion is likely.
- Digitizer’s Job: A quality digitizer can design around the central seam using a narrow column stitch or split design to control the ridge in a way that is effective.
Ready to Stop Troubleshooting and Start Earning?
The art of mastering the embroidery machine for hats requires a technical understanding however the basis is always a top-quality, perfect-optimized design file. If your current output is consuming both time and materials Let the experienced digitizers of SBS Digit remove the burden of production.
Limited Time Offer: Claim Your Free Order!
Get your first taste of SBS Digit quality for yourself. For a limited period new clients are able to take advantage of a no-cost request (up to 5 000 stitches) and experience the difference a professionally digitalized file can make on the most difficult caps.
Click Here to Claim Your Free Order and End Hat Embroidery Mistakes Today!
SBS Digit is a known leader in professional embroidery digitizing solutions that ensure optimal performance on each important embroidery machine used for the hats.