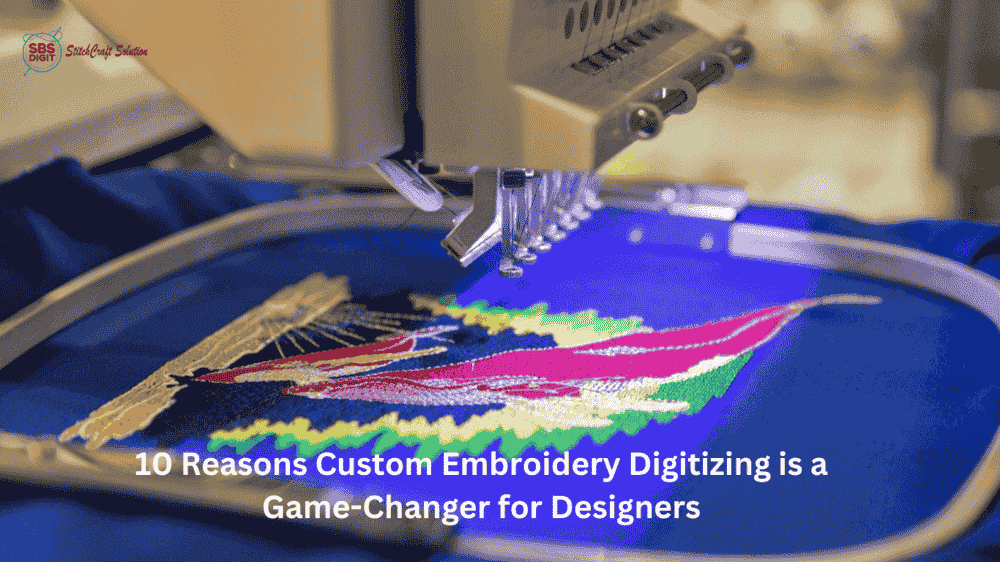
For businesses, designers and hobbyists, digitizing a logo to be embroidered is a vital process. It allows them to turn a flat image, into a beautiful stitched piece of artwork. In contrast to printing, embroidery demands precision in the placement of stitches, their direction and density. embroidery digitizing service and specialized software can help.
This guide will take you step-by-step through the embroidery digitizing process, whether you are new to digitizing embroidery or looking for a free embroidery digitizing USA. This guide will walk you through the steps to create a professional design. It also includes expert advice and frequently asked questions to ensure that your results are of a high quality.
Why digitizing embroidery is important
The embroidery machine cannot read a digital image like JPEG, PNG or GIF. It must be converted to a stitch file, which includes instructions on where to place the stitches, what types of stitch to use, and how to apply colors. The embroidery digitizing process ensures your logo will look sharp, consistent and visually appealing when it is embroidered on garments or other accessories.
With the right tools and instructions, you can do this yourself.
Step 1: Check File Compatibility
Verify your file type before you begin digitizing your logo. Most digitizing programs accept high-resolution formats such as PNG and JPEG or vector formats such as AI and EPS. To get the best results, your logo should have clean lines and minimal gradients. High-quality files reduce editing time and produce smoother stitches.
Step 2: Download the Embroidery Digitizing software and upload your designs
You’ll need embroidery software to digitize a design. There are many options, from paid professional programs to beginner friendly and free embroidery digitizing USA software. Upload your logo to the software once it is installed. You can then start setting up stitch paths and convert your design to a machine-readable form.
Step 3 – Set the design size and dimensions
In embroidery, scale is important. The design may look great on the screen, but not when it is shrunk or enlarged to fit a hat or jacket. To match your intended embroidery area, adjust the logo size in the software. This is usually measured in millimeters and inches. The correct sizing will prevent stitch distortion, and keep your logo proportions accurate.
Step 5 – Select your Stitch Type and Direction
Here is where digitizing comes into its own. For different areas of a design, different stitch types are used, such as satin, fill or running stitches. Satin stitches, for example, are best for borders and text, while fill stitching is better for large areas. The direction of the stitch is also important as it will affect how the light reflects off the thread, and make your logo look polished.
You can reduce the time you spend on digitizing embroidery by partnering with an embroidery digitizing services.
Step 5 – Choose your Embroidery Thread Colors
Select thread colors that complement your brand identity. You can assign different shades of thread to each part of your logo using digitizing software. For precise color matching, it’s best that you use the thread color chart provided by your machine brand (such Madeira, Isacord or Robison Anton). It is important to ensure that your logo matches your brand’s image.
Success Tips from Experts
-
Test runs are essential: Always embroider your final product on scrap fabric after a test run.
-
Simplify your design: Avoid small details as they may not translate to thread.
-
Back up your files: Save the digitized files in different formats compatible with different embroiderie machines.
Why Use a Professional Embroidery Digitizing Service
Although DIY digitizing can be rewarding, many companies prefer to outsource their embroidery digitizing services USA. The professionals have years of expertise, advanced software and a thorough understanding of fabrics, so your logo will be ready for production. It is especially helpful if your logo has multiple designs or you need large-scale embroidery.
FAQs about Logo Digitizing
Q1 Can I use free embroidery digitizing programs in the USA?
No, but some programs have limited functionality or free trials. They are perfect for beginners. However, advanced projects may require professional services or paid software.
Q2 How long will it take to digitize a logo?
A simple design can take between 20 and 30 minutes. It may take several hours to create complex logos that have gradients and fine details.
Q3 What format can embroidery machines read?
Most embroidery machines use DST, PES or EXP formats. Check your machine compatibility before exporting any file.
Q4 Why should I choose a local embroidery digitizing service?
Local embroidery digitizing services are often faster, offer better customer service, and adhere to industry standards in the USA.
Q5 Can any image be digitalized for embroidery?
Nearly any image can be digitalized, but logos that have clean lines and few color gradients produce the best results.
Conclusion
By learning , you can create professional apparel and merchandise by digitizing your logo. You can get high-quality results by following these steps: checking file compatibility, using software for embroidery, adjusting the design size, choosing stitch types, and selecting thread colors.
The key to success is accuracy and attention. Your logo can seamlessly transition from screen to stitch with the right tools and know-how. This will help your brand standout on every embroidered item.