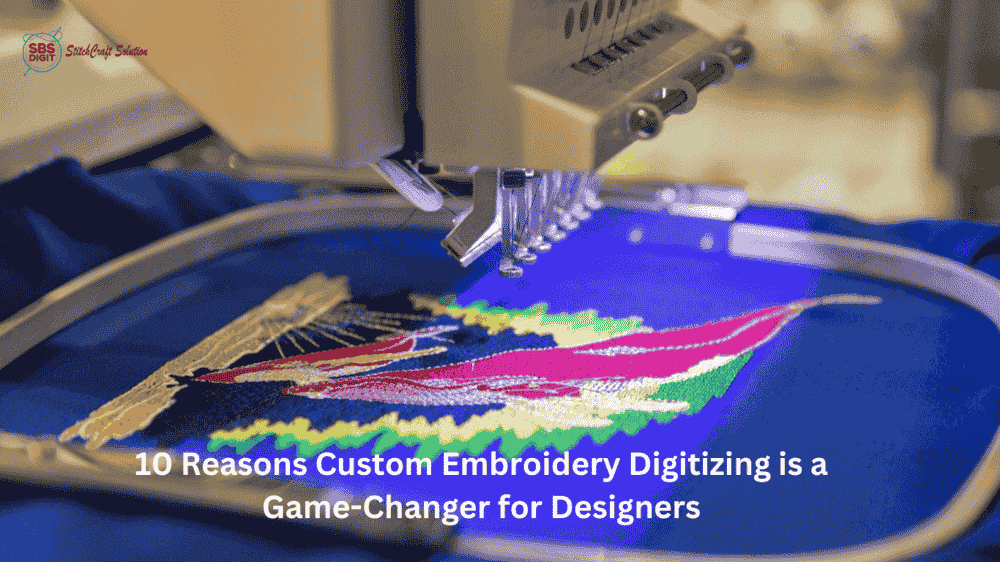
Embroidery is everywhere on hats, hoodies, jackets but not all stitches look the same. Some sit flat, almost fading into the fabric. Others rise up, bold and sharp, demanding attention. That’s the magic of 3D puff embroidery digitizing. It gives designs that raised, foam-filled look you’ve probably seen on sports caps or streetwear.
If you’ve ever picked up a snapback and thought, “what is 3D puff embroidery on a snapback, and how do they do that?” you’re in the right place. At SBS Digit, we’ve helped countless brands and individuals transform flat logos into 3D puff designs that pop. But getting it right isn’t just about throwing foam under stitches. It’s a mix of smart digitizing, the right materials, and careful testing.
Here are our top 10 tips for perfect 3D puff embroidery digitizing results.
1. Start with Simple, Bold Artwork
Tiny details don’t translate well to puff. Thick fonts, block letters, and clean shapes are easier to digitize for foam and give a sharper finish.
2. Understand How Puffy Foam Works
When learning how to digitize 3D puff embroidery, think of the foam as part of your canvas. The stitches must cut into it, cover it, and leave no gaps. The wrong setup? You’ll end up with messy edges or visible foam.
3. Use the Right Foam Thickness
Embroidery foam comes in different sizes usually 2mm to 6mm. Thicker foam gives a higher lift but needs denser stitching. For hats, mid-range foam often works best.
4. Adjust Stitch Density for Puff
This is where beginners often slip. Regular flat embroidery settings won’t cut it. Puff needs slightly higher density so the stitches press down and slice through the foam neatly.
5. Keep Underlay Minimal
Underlay stabilizes the design, but too much flattens the puff effect. A light underlay is usually enough to hold the foam in place without ruining the raised look.
6. Consider the Cap’s Curve
Digitizing puff for hats especially snapbacks requires extra care. The curve changes how the stitches land. Proper pathing and placement keep the design smooth across that rounded surface.
7. Don’t Forget Capping Stitches
At the start and end of each segment, use capping stitches. They lock the foam down and prevent unraveling, giving the embroidery clean edges.
8. Factor in Pull Compensation
Foam changes the way stitches stretch. If you don’t allow for pull, gaps will appear. Adding the right compensation keeps lines and edges sharp.
9. Always Run a Test First
Never go straight to bulk production. Run a single sample, adjust density or pathing if needed, and then scale up. It saves time, money, and frustration.
10. Work with Experienced Digitizers
3D puff digitizing isn’t guesswork. Professional files make all the difference. At SBS Digit, we create optimized embroidery files that guarantee consistent, high-quality results whether it’s puff on hats, jackets, or hoodies.
Why People Ask About “Cheap 3D Hat Embroidery”
We hear this often brands and small businesses want affordable puff embroidery, especially on caps. The key is in the file. A properly digitized design reduces wasted thread, foam, and time. That’s why even if you’re looking for cheap 3D hat embroidery, investing in good digitizing pays off in the long run.
FAQs About 3D Puff Embroidery
Q1. What is 3D puff embroidery on a snapback?
It’s a raised embroidery style created by placing foam under stitches. Snapbacks are popular because their structured fabric supports puff embroidery perfectly.
Q2. How to digitize 3D puff embroidery for beginners?
Start with bold designs. Use slightly higher density, add capping stitches, and always test before production. If unsure, partner with experts like SBS Digit.
Q3. What’s the difference between flat embroidery and puff embroidery?
Flat embroidery sits flush against fabric, while puff uses foam for a 3D effect. The digitizing approach density, underlay, pull compensation differs completely.
Q4. Is 3D puff embroidery durable?
Yes, if digitized correctly. The foam compresses under the stitches, creating a strong hold. Poor digitizing, however, can lead to gaps or unraveling.
Final Thoughts
Perfecting digitizing for puffy foam embroidery takes skill and practice. From the right foam to stitch density, every decision affects the final look. The raised effect is bold, stylish, and increasingly popular but it only shines when the digitizing is done right.
If you want embroidery that stands out, don’t leave it to trial and error. Partner with specialists. At SBS Digit, we deliver files built for clean, professional 3D puff results so your designs look sharp on every cap, hoodie, or jacket.


